RAF HARROWBEER
YELVERTON
Photographs of RAF Harrowbeer
I would really like to put as many 'Then & Now' photographs here as I can. But, (and it's a big but) I can only do that if original photographs are made available to me (with copyright permission of course). It is not my intention to publish photographs without the owners permission. Anyone spotting a photograph here that they think is their's then please accept my apologies and let me know immediately so that it can be removed.
All 'Now' photographs are © Mr S C Fryer unless stated
For an aerial view of the airfield as it is today, click here
And to see what flying into Harrowbeer looks like, click here
10 Group BadgeRAF Harrowbeer
was in '10 Group'. We are grateful
to Air Historical Branch (2) Ministry of Defence, for © Crown Copyright: Marks of the Secretary of State for Defence and used with their permission. |
 |
Then & Now pictures ~ please click on a link and watch!Apr 2017 Update ~ These pictures use Java and with newer versions, new security measures have been implemented by Java which means these 'anfyfade' pictures MAY not work unless you check any tick box that asks you for permission for them to run. You may be also able to alter the settings within Java via Windows Control Panel. They definitely don't work in Chrome as that doesn't use Java. |
|
 |
New ~ No 312 (Czech) Sqdn celebrating Mass in a Bellman Hangar |
 |
|
 |
|
 |
|
 |
|
 |
|
 |
|
|
If you have seen these
before, note that I have changed the layout of them slightly.
|
|
The following are
a general selection of old and new photos about RAF Harrowbeer.
193 Squadron and Bellows
of Brazil pictures are now on their own pages.
To view a larger image simply click on the image itself. To return to this
page, use your browsers 'back' button
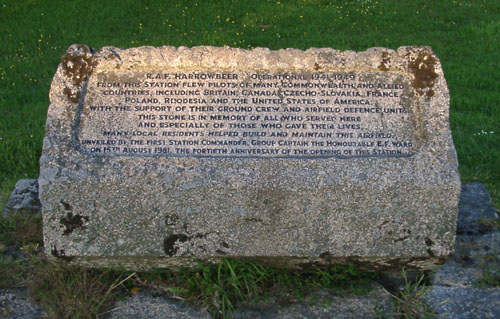 |
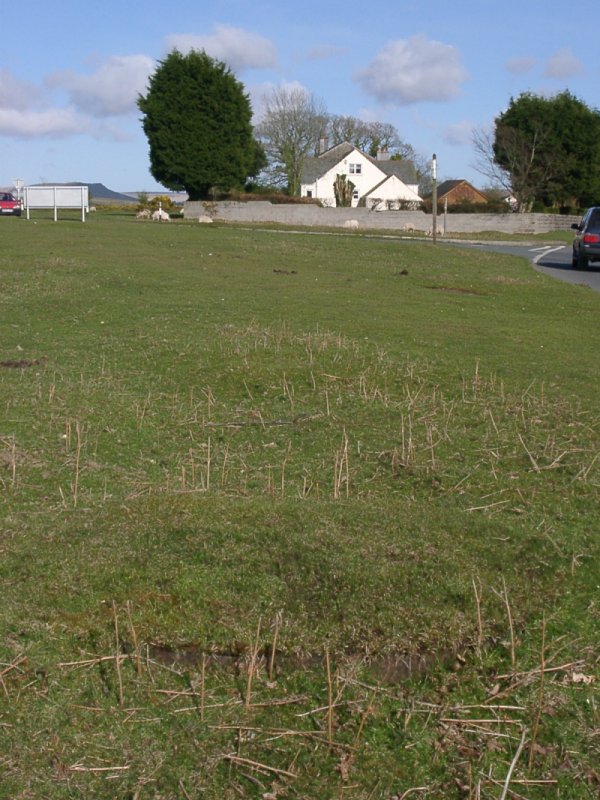
The memorial
stone at Leg o' Mutton, Yelverton.
|
|
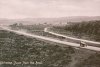
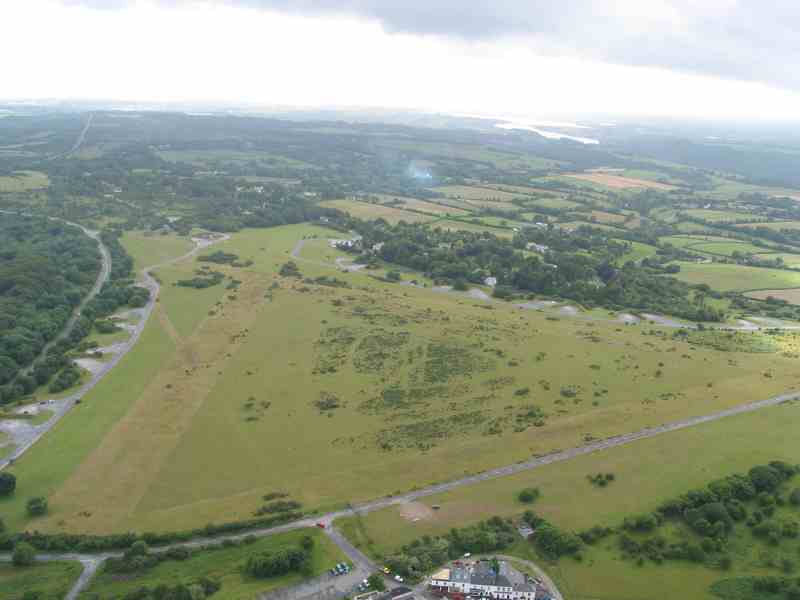
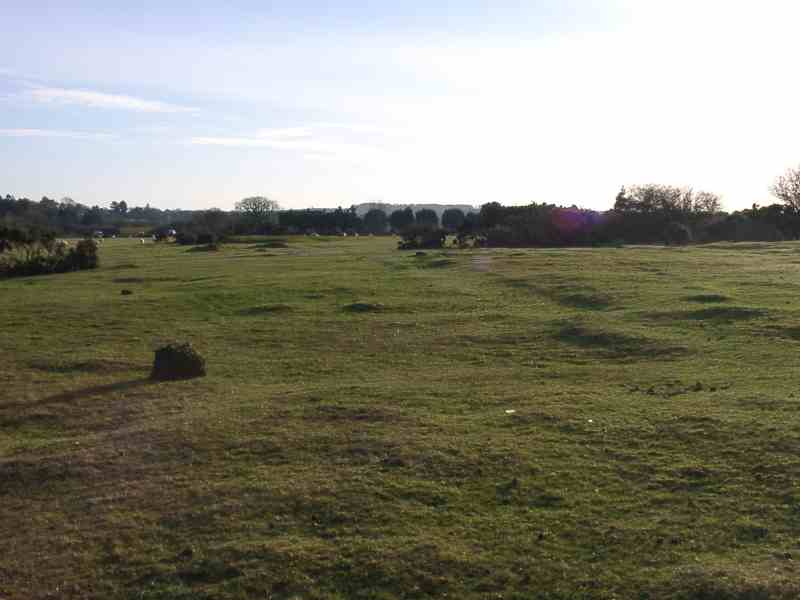
A terrific
'pilot's eye' view of the airfield looking South, with Leg o' Mutton
in the foreground. Runway 05/23 is to the left and runway 11/29 is from
bottom left to mid-right. The river Tamar can be seen in the distance.
Note the line of the original Plymouth/Leg o' Mutton road crossing the
runways. The red vehicle turning left could originally have gone straight
on. © D Keeling
|
 |
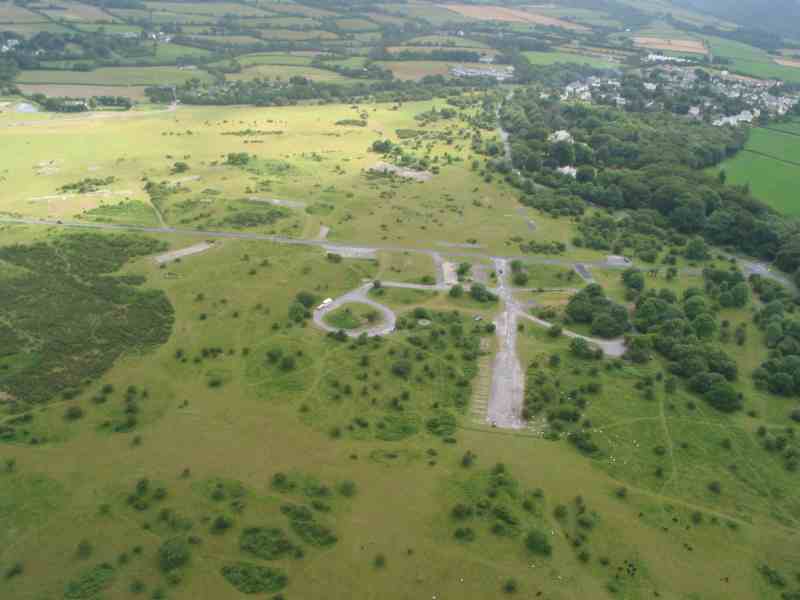 |
Another aerial view, this time showing the 'business' side of the airfield, with the runways in the background. The circular feature (left) was the 'Bulk Petrol Installation' and the long narrow feature was the MT Shed. The concrete base of a Bellman Hangar is in the middle distance and the brown smudge, (mid-left) is the base of another. © D Keeling |
|
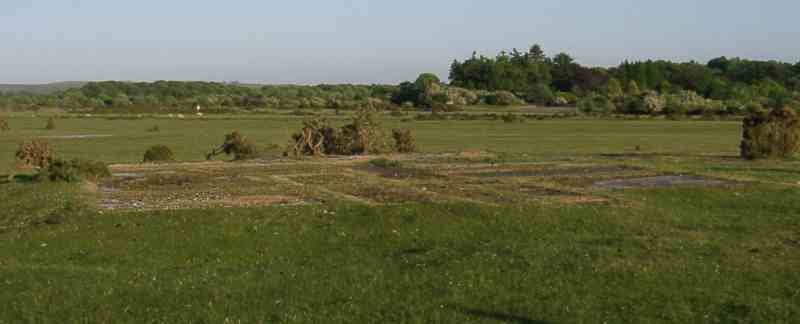
The concrete
base of the Control Tower. |
 |
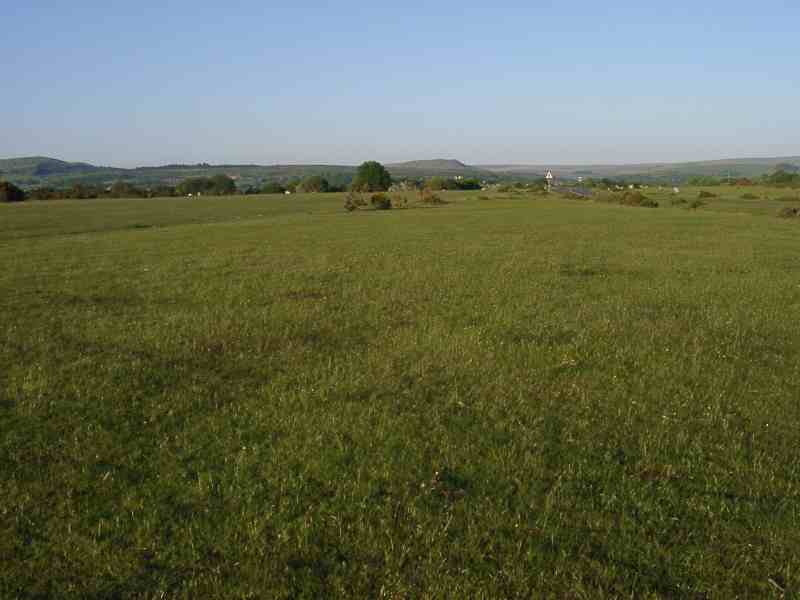 |
Looking East (approx) along Runway 11/05. The pale grass clearly shows the outline of the runway. The spire of St Paul's Church in Yelverton can just be seen in the distance, on the right. One Typhoon pilot unfortunately crashed into the spire and was killed. |
|
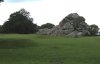
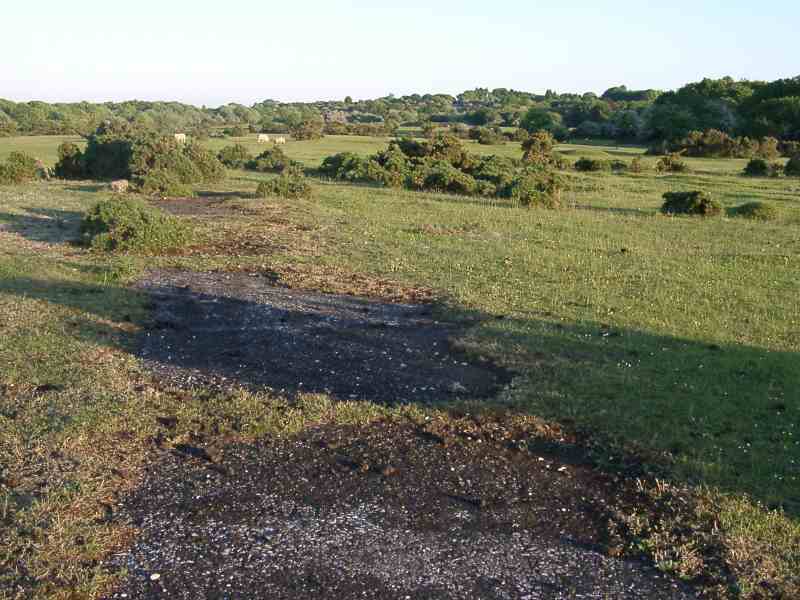
Standing on the right-hand edge of runway 17/35 looking South. The famous 'Yelverton Rock' is in the distance. This is one of the very few patches of runway tarmac left after they were ripped up in the 1960/70s. When visiting, look closely at these patches and you will see small pieces of coloured 'chippings' (blue, red & yellow). These were apparently used to try and hide the airfield from the air. We are told that as fast as the contractors stuck them down, the aircraft wheels ripped them up! |
 |
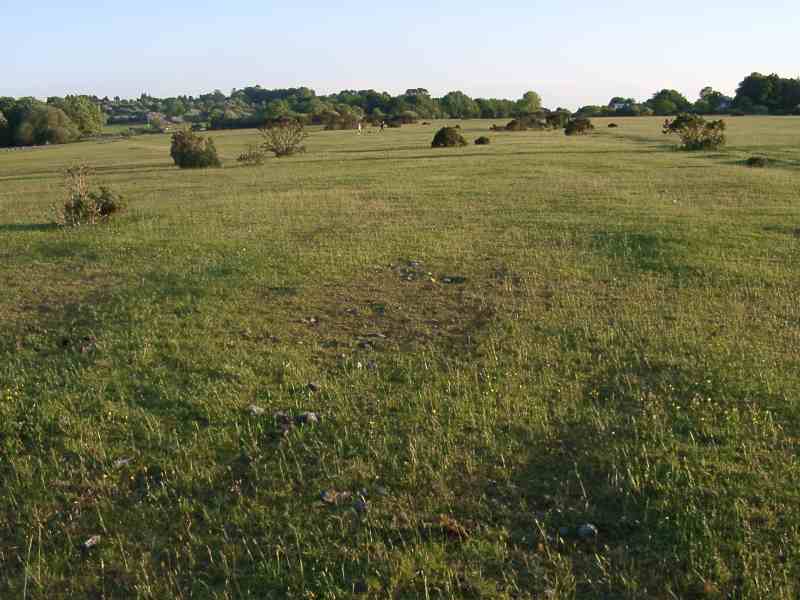 |
Looking South
along Runway 05/23. |
|
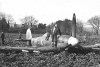
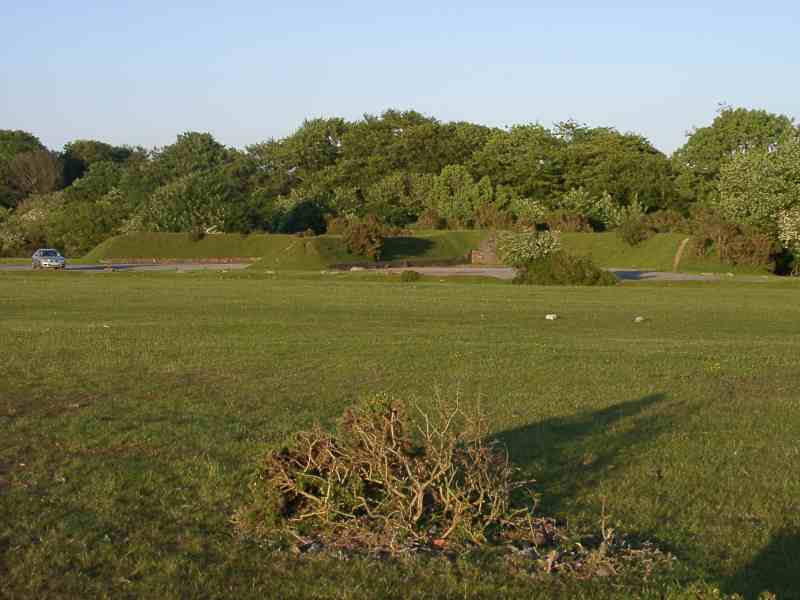
One of
the eleven dispersal bays spread around the Airfield. Now used as
car parks and (unfortunately) rubbish dumps. One of the (bricked
up) entrances to the air-raid shelter inside the bay is just visible.
|
 |
 |
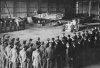
On
the right: A service takes place outside a hangar, with the
control tower in the background. |
 |
|
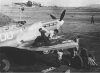
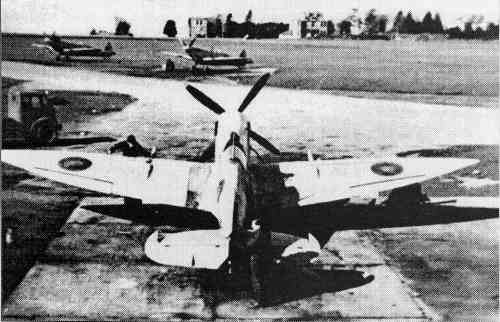
A Spitfire
of 312 Sqdn is rearmed. The Control Tower and one of the Bellman
Hangars can be seen in the background. To the right of the Tower,
two of 276 Sqdn's Defiants are parked, ready for the 'off' to search
for downed aircrew in the Channel.
© Jerry Brewer |
|

 |
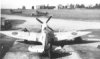
A Spitfire
VII of 131 Sqdn, parked in one of the eastern dispersal bays. |
|
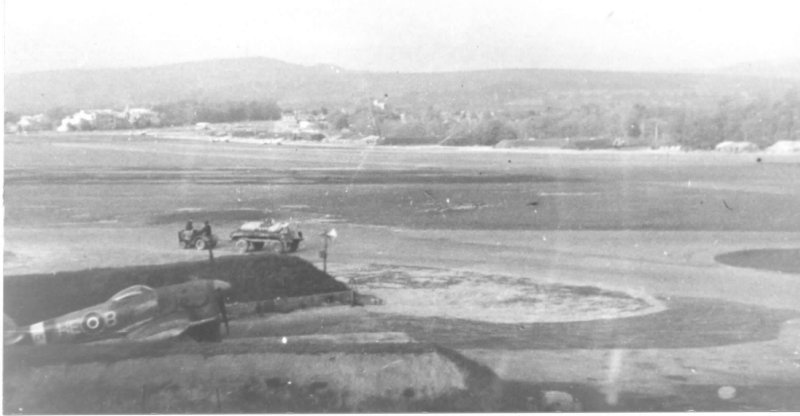
A previously
unpublished picture of a Typhoon standing in a dispersal bay, with
Yelverton in the background. A poignant picture, as this aircraft
is the one that hit the Church Tower and crashed, killing the Pilot. |
 |
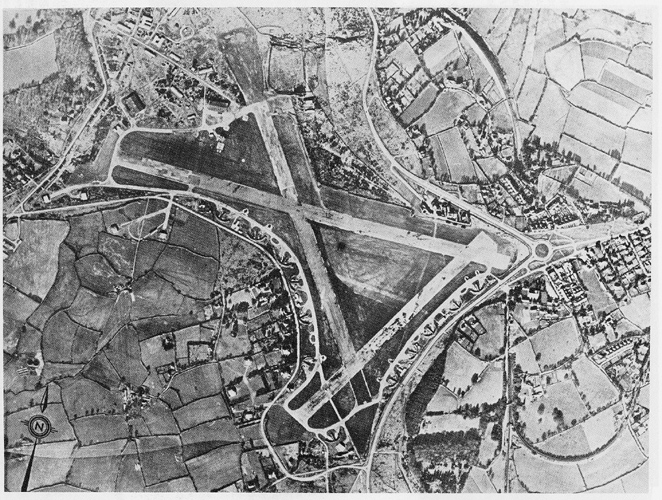 |
An aerial view of the airfield Probably from the set taken in 1946, as the bomb store is visible (top left). Two sets of aerial photos were taken of Harrowbeer in the 40s, one in 1942, the other in 1946. The 1942 set doesn't show the bomb store at all. |
|
This photo is captioned:
"Squadron Leader J.J. O'Meara DSO DFC of |
 |
 |
This is the presentaion of the Typhoons to 193 Squadron. It was a horrible day, (as you can tell from the brolly). Read the full story here |
 |
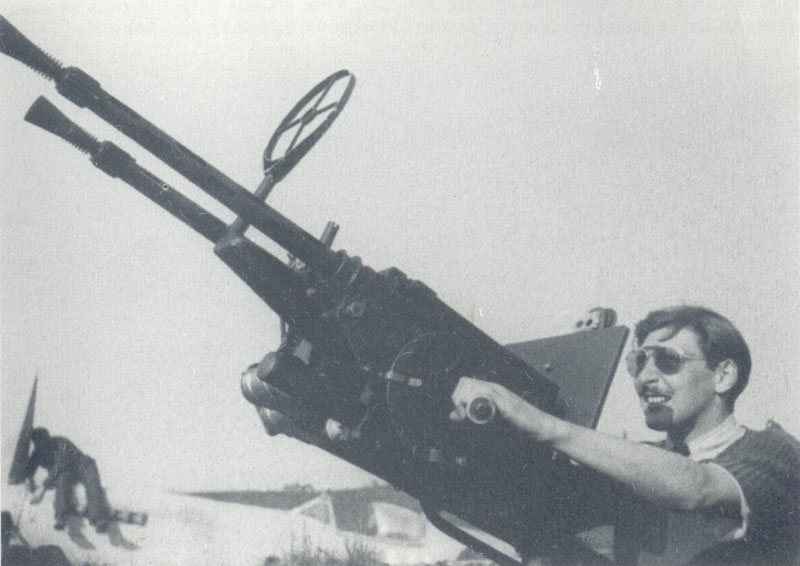
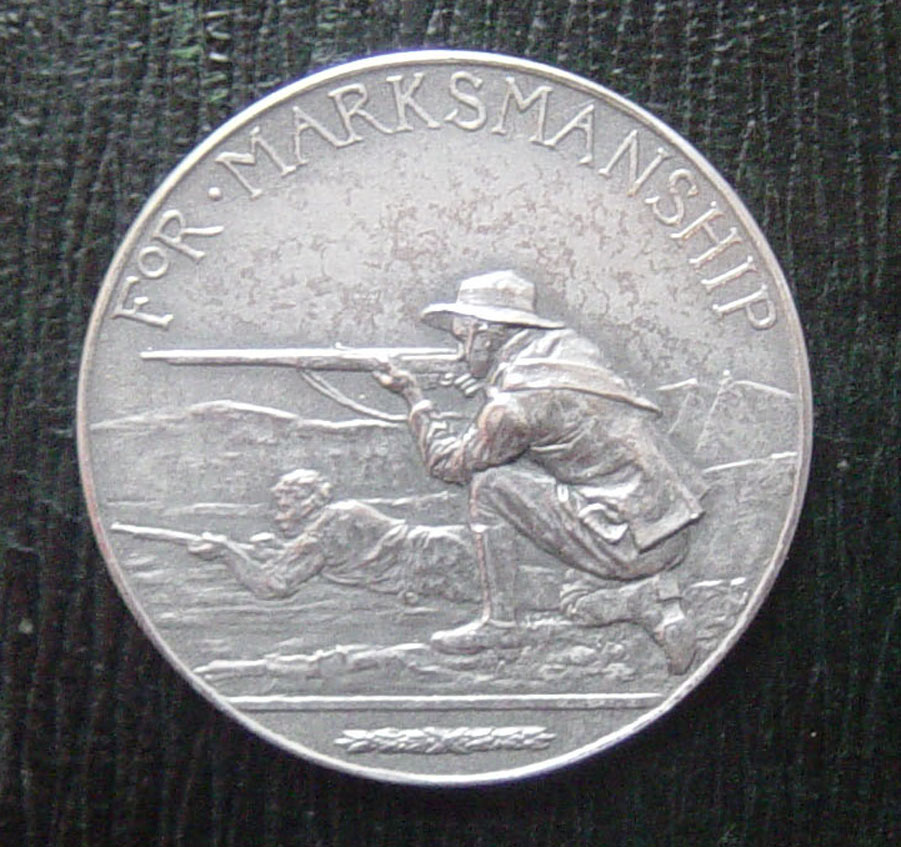
Harrowbeer
Shooting medal 1942 Awarded to
There was a firing range at the rear of the airfield where inter-squadron shooting competitions took place. We also have heard that skeet shooting took place in a nearby valley. |
 |
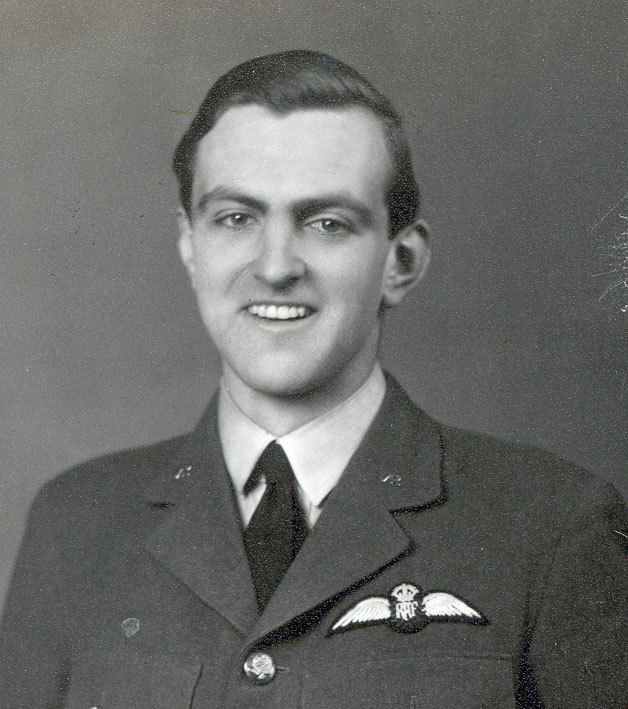 |
Flt Lt N.S.H. Brown Stationed at Harrowbeer in 1942. The shooting medal was awarded to him (probably) as a result of one of the inter-unit shooting competitons that were promoted on the base. (His Son would like to hear from any former pals) |
|
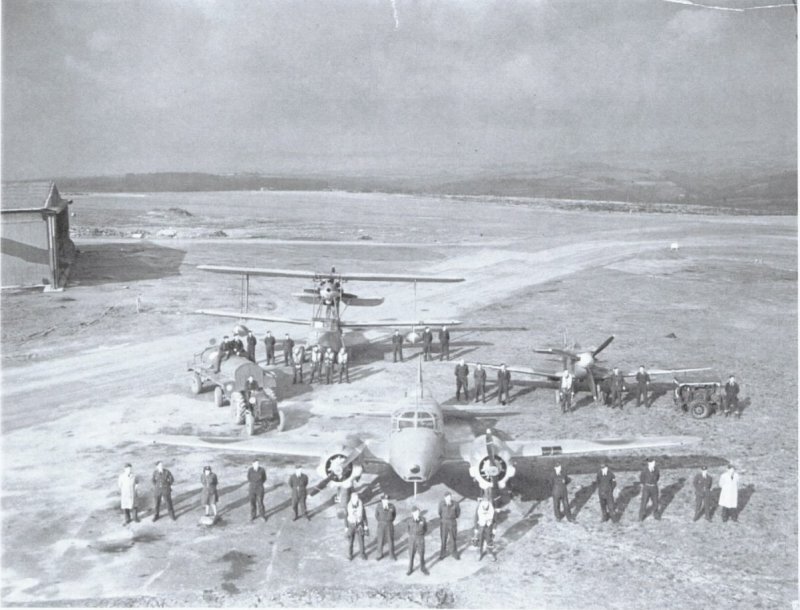
'M' Flight, 276 ASR Squadron ~ April 1943. In the
foreground is an Avro Anson, to the right a Spitfire and back left
is a Walrus. The photo was taken from the roof of the Watch Office.
Copies of this photo normally don't show the Bellman Hangar |
|
 |
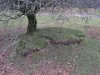
Allen Williams Turret Base Just to
show that some things can be right under your nose..! This turret
base was spotted on April 19th 2005. It's right alongside the main
road and during the Summer months is probably hidden by bracken,
which is why we never noticed it. Even now, you can only see part
of the metal ring, around which the top section rotated. |
|
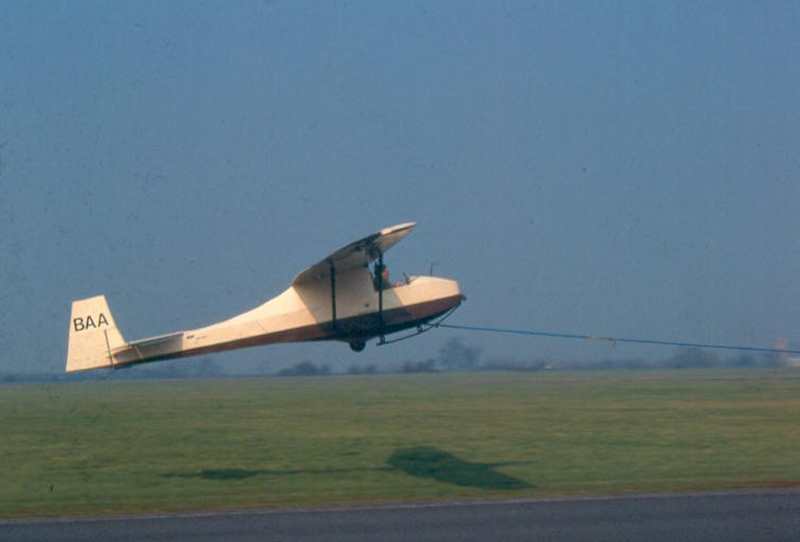
I wondered
if you had any photos or information on 82 Gliding School? I currently
own Slingsby T.7 Cadet VM589 that served with 82 GS, possibly the last
surviving flying machine from this airfield |
 |